Introduction
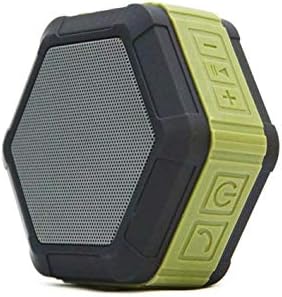
In this section you will create a portable speaker model, and add to it multiple components to create an amplifier in term 2.
Objectives:
1. Insert and position the amplifier
2. Extrude a suitably sized hexagon to enclose the components
3. Shell the hexagon to create a hollow model leaving the components inside
4. Assemble the audio amplifier and speaker into their desired position using a rigid point
5. Position a second speaker using the mirror feature
Task
1. Download the required components to assemble the speaker
a. Power supply

b. Audio amplifier
c. Arduino Leonardo
d.Speaker
2.Upload the designs using the data panel by following the instructions in the video below:
https://help.autodesk.com/videos/YxdDhhbjqwuccpnsqjraCEnee5N-l_Ln/video.webm
3. Create the speaker shell by following the video tutorial instructions below link:
https://knowledge.autodesk.com/community/screencast/78df11d8-cb89-47cb-9d72-8f1944be23bc
4. Follow the link below on how to assemble components
5. Mounting the speakers in the shell
6. Creating Mounting holes for the potentiometer and the audio jack
Debrief:
Did you enjoy designing the speaker shell? What skills you learned in this lesson? What obstacles you faced while designing the shell for the speaker?
Diana Link
https://classroom.google.com/u/1/c/Mzc5MTg1MDg2NTha/m/Mzk3MDUwMzQ1NTZa/details
Hicham Link
https://classroom.google.com/c/Mzc4MTgxNTk5NzZa/m/Mzk3MDIwMTgxNTJa/details